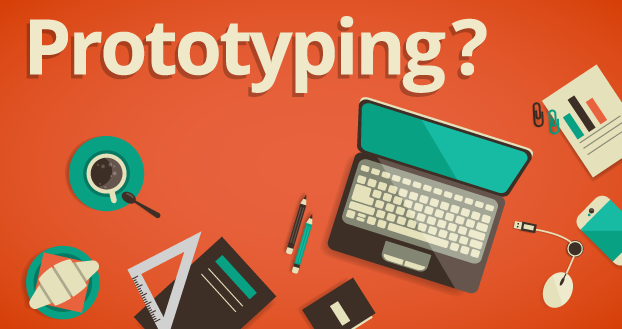
How to Get a Web Prototype Made in 5 Steps?
No product will be produced without any foundation. The emergence of a product usually represents a certain market demand. Designers are those who collecting these demands. For a long time, the vast majority of designers are using the lengthy and complex text description to complete the user requirements document (PRD). However, this phenomenon has a great change since the appearing of the prototype design tools. Making a prototype now has become an indispensable part of user requirements document production. Many of the novice designers may not familiar with the design and producing of prototyping when they are asked to make one. Here we come to introduce you to 5 simple steps to get a web prototype made.
Step 1. Collecting demands
When you get the collected demand data, you have to figure out the real user demands and user’s whimsical. Actually, that needs some industry experience to make the judgment, but the novice is not helpless. In the distinction of the database, you need to pay attention to think the problems from the user's point of view at first. No matter how gorgeous of the design, and how smooth of the code. If the users don’t like it, then everything is just futile. The base of a good product is a good prototype which is the foundation of user demand collecting.

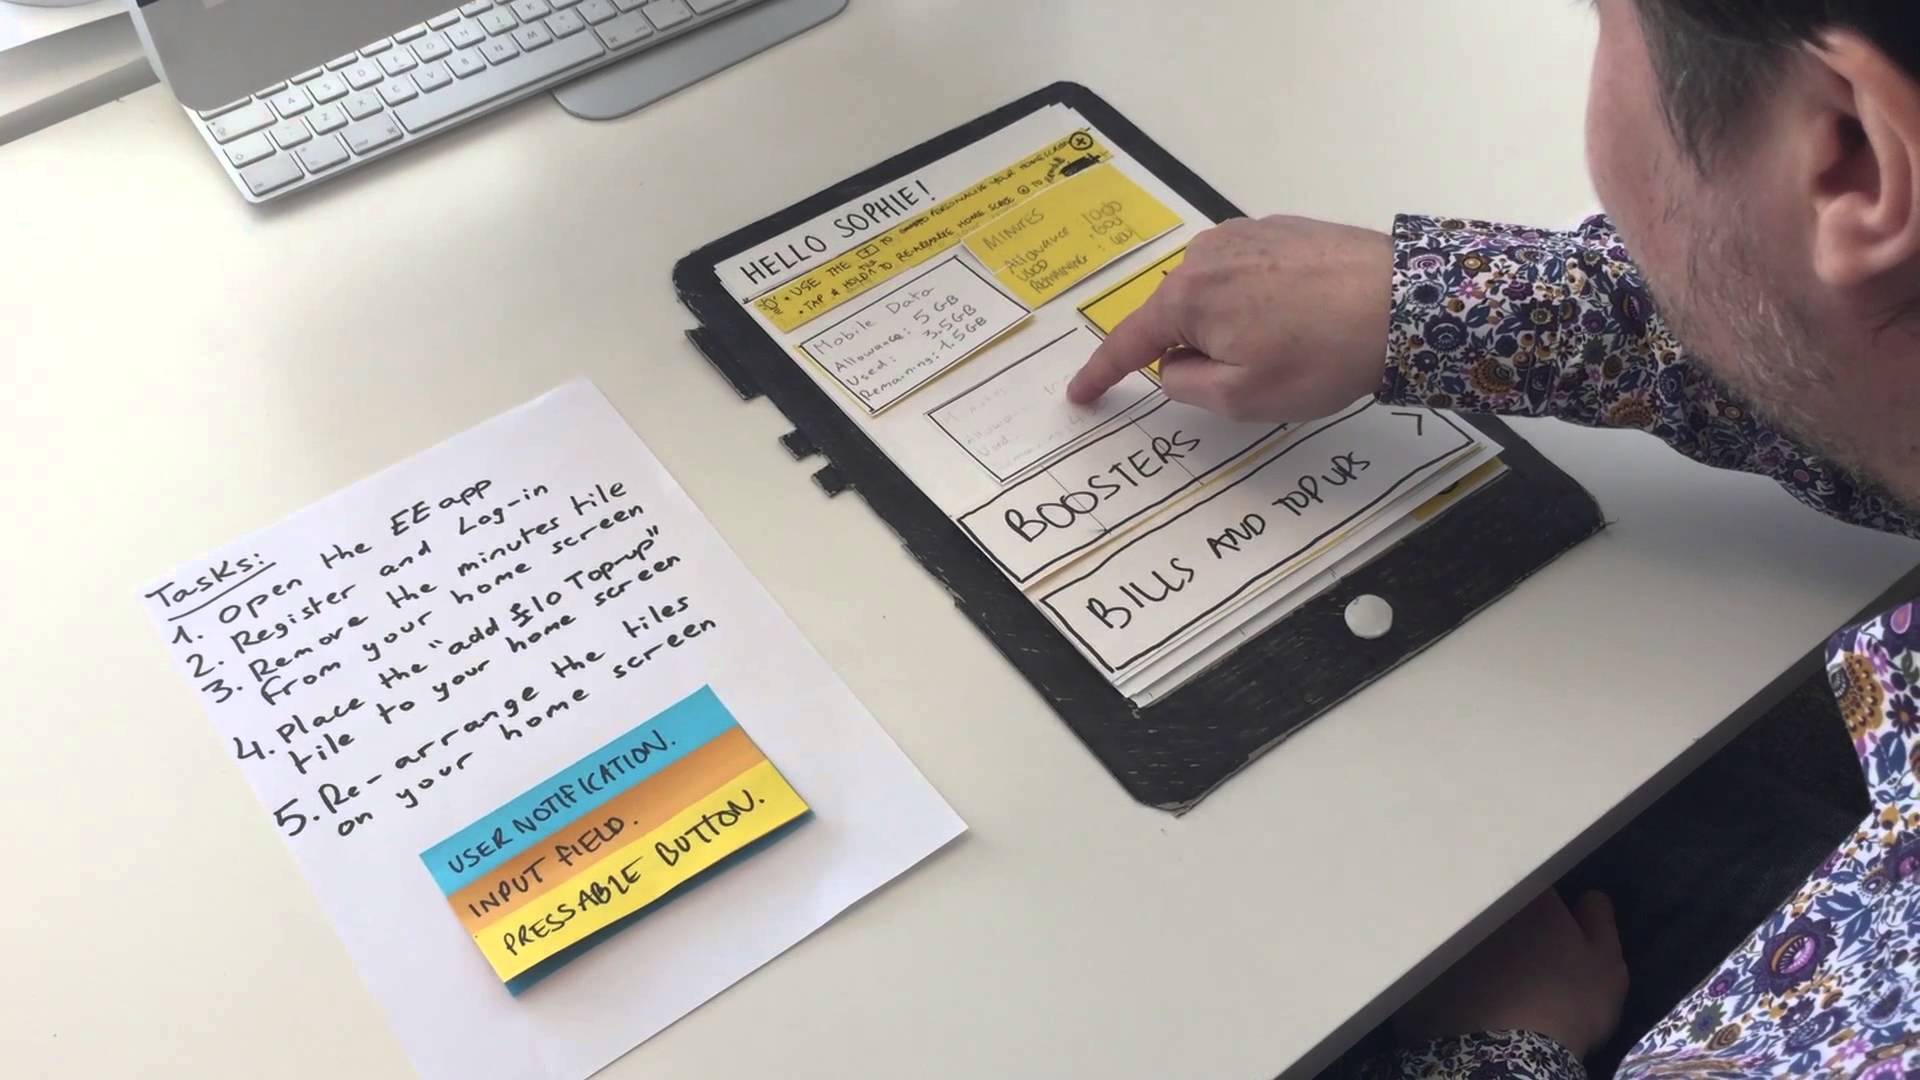
Step 2. Paper prototyping
So after getting the data, can we start to get a web prototype made directly? No, it’s not so easy as your imagine. Many novices are starting to make prototype directly on the computer, but it’s not recommended in my opinion. In fact, many designers ignored a very important process during the prototyping design. That is the paper prototype. The advantage of paper prototypes is that you can make out a design very quickly in a short period of time. It facilitates the communication and idea exchange within the group. Moreover, the paper prototype is very simple and quick for improvement.
Step 3. Choose tools
In the choice of the prototyping tools, I do not recommend the full-featured difficult tools, like Axure and Justinmind, for the beginners. Because these tools are not so friendly for the novice, they may waste a lot of time and even delay the whole project. So I think the novice can try the easier prototyping tools like Mockplus, UXPin, and Proto.io to make the design. In the difficulty, Mockplus can be said to be almost zero. As the web-based tools, UXPin and Proto.io are more convenient for the web designers.
Step 4. Wireframe interaction
There are some differences on making a prototype and a wireframe. First of all, the wireframe does not include interaction in. But the prototype does. The interactive prototypes make a great importance between the communication of designer and developer. The interactive action can explain the functional requirements better than the complex words. That’s why I don’t recommend Balsamiq. Mockplus has a great advantage on setting interactions than Uxpin and Proto.io. Besides, the visualization of Mockplus and Proto.io is also commendable.
Step 5: Preview & Test
A well-designed prototype needs to present to the developer for testing with a preview function. The presentation is sometimes more challenging than making a prototype. In general, the presentation is directly demonstrated to the developer via the computer. However, in the real process, the exported HTML, demo packages, and published cloud projects are more convenient to collaboration between departments. Especially when designing teams and development teams in different regions. Many tool companies have actually noticed this, and they did a lot of job on exporting HTML files and publishing projects to the cloud.
Conclusion
The all 5 simple steps to get a web prototype made are listed above. For the novice designers, just follow step by step, then you will be an expert soon.


评论
发表评论